Switch back to German
Products
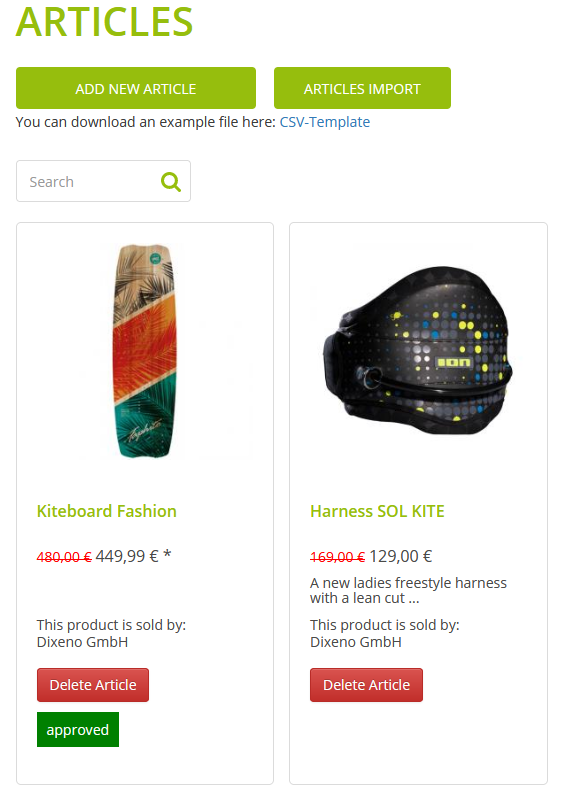
Under Articles you get an overview of all products you already have created. The marketplace operator must approve every product before it is available on the marketplace. You see the approval status for each product.
Note: You can transfer products that have already been entered in your ERP to the web store via an API. However, such a connection must be developed additionally. If you implement this interface, then you always create and maintain the articles in the ERP.
Add a New Product
You must at least fill in the main data of the product and upload some pictures. You can use data entered in German as a template for other languages.
How to:
-
Go to Articles.
-
Click the Add new article button.
A window opens where you can enter the main data.
-
Enter the main data.
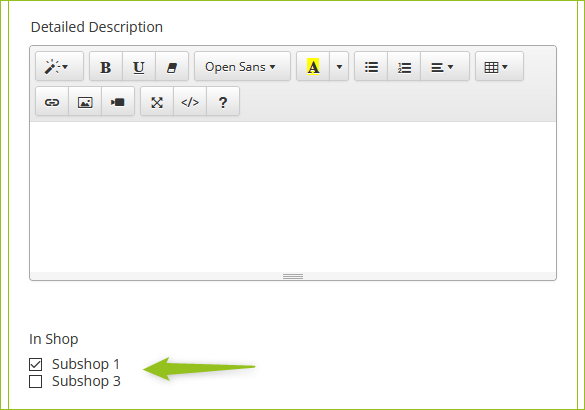
Note: If you use the marketplace module within an environment with subshops, activate the subshops for the products when creating them. You only see the subshops that are available to you.
-
Click on Save.
After that, you will get more tabs like Stock and Variants to enter more information about the product.
For more information about the fields, please refer to the OXID Online Help (v.6.2).
After you have entered the product, the marketplace operator receives an email that notifies them about the new product. They must approve the product so that it is available in the marketplace.
Import Products from a CSV File
You can import products that you have stored in a CSV file. To avoid problems during import, we recommend using the template.
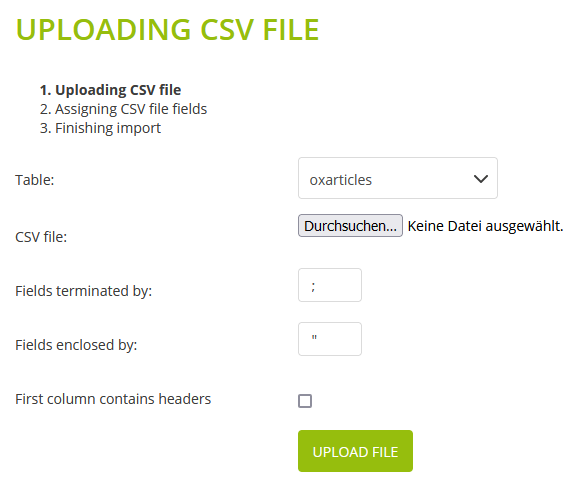
An OXID shop always offers such an import feature. For more information about this feature, please refer to the OXID Online Help (v.6.2).
Define Specific Properties for Products
Products may have different properties, also known as attributes. Attributes such as weight or size are already available in the shop. To give your customers more detailed information about a product, you can assign these attributes to the product. In the shop, these attributes are displayed on the product detail page in the new SPECIFICATION tab.
How to:
-
Go to Articles.
-
Open a product and go to the Selection tab.
-
In the Assign Attributes area in the left pane, click the property(ies) that you want to display additionally.
If you want to assign all attributes, click the Assign All button.
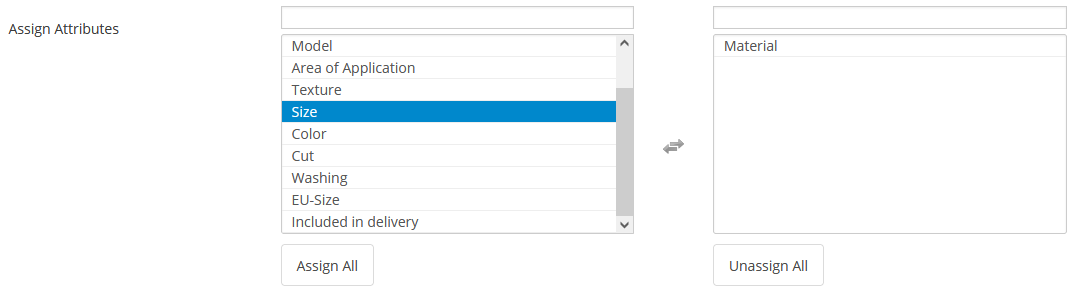
The selected attributes appear in the right window and can be removed by using the Unassign All button.
-
Click on Save.
You are able to enter values for the attributes:

-
Enter the values and click the Save Attribute's Value button.
Define Crossselling or Accessories for a Product
Crossselling allows you to suggest products to your customers that complement or are similar to the product choice in their shopping cart. For example, the store lists the selected crossselling products under "Customers who viewed this product also viewed the following products".
How to:
-
Go to Articles.
-
Open a product and go to the Crosssell tab.
-
In the Assign Crosssellings area in the left pane, click the product(s) you want to display for crossselling:
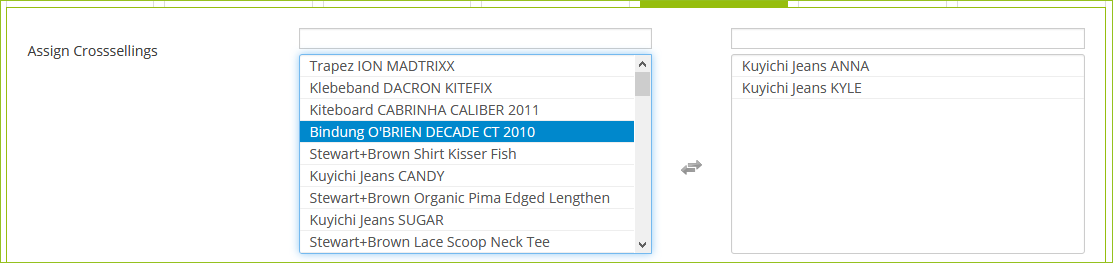
If you want to assign all products for crossselling, click the Assign All button.
The selected products appear in the right window and can be removed by using the Unassign All button.
-
Proceed in the same way to assign accessories to a product.
-
Click on Save.
Create Variants
An product may vary in size or color, for example. There are 2 ways to create variants:
-
Variants by selection list
-
Variants with parent product
Normally, you work with variants that belong to a parent product and can be maintained individually. As soon as you also want to connect an ERP software to the system, you can only work with variants with parent products. Selection lists can then not be used. However, you can use selection lists as templates to create variants.
Create Variants by Selection List
Since selection lists are used less frequently, they are not explained in detail in this help. For more information about selection lists, please refer to the OXID Online Help (v.6.2).
Create Variants with Parent Product
How to:
-
Create the parent product via Articles > Add New Article.
-
Enter the main data.
Properties such as Price or Detailed Description are applied to the variants and can be customized there.
-
Go to the Variants tab.
-
You have 2 options to create variants:
-
You fill in the fields at the bottom. In the Select field, enter the name of the variant, e.g., S | Red (here according to the scheme: Size | Color). For more information about the fields, please refer to the OXID Online Help (v.6.2).

-
-
If available, select a selection list on which to base the new variant.
-
Click the New Variant button.
The new variant appears above the fields:

-
To enter the data for a variant, click next to the variant on the
 Edit button.
A view with all tabs for the variant opens.
-
Fill in the fields and save all entries via Save in the Main tab.
Define Sale Price for a Product
You can attract customers' attention to your products by having your product price displayed as a discounted price.
How to:
-
Go to Articles and select a product.
-
In the Main tab, enter the price of the product:

-
In the tab, click on Save.
-
Click the Extended tab.
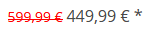
You will see a purchase price and the RRP. The purchase price is not displayed in the store and is intended for internal purposes. The RRP is the manufacturer's recommended retail price. If the RRP is higher than the specified price in the Main tab, then the RRP is displayed in red and crossed out.

-
Enter the RRP.
-
Click Save in the tab at the bottom.
The RRP of the product is displayed in red and crossed out: